By Kelley Ashford & Irene Magafan, WWF
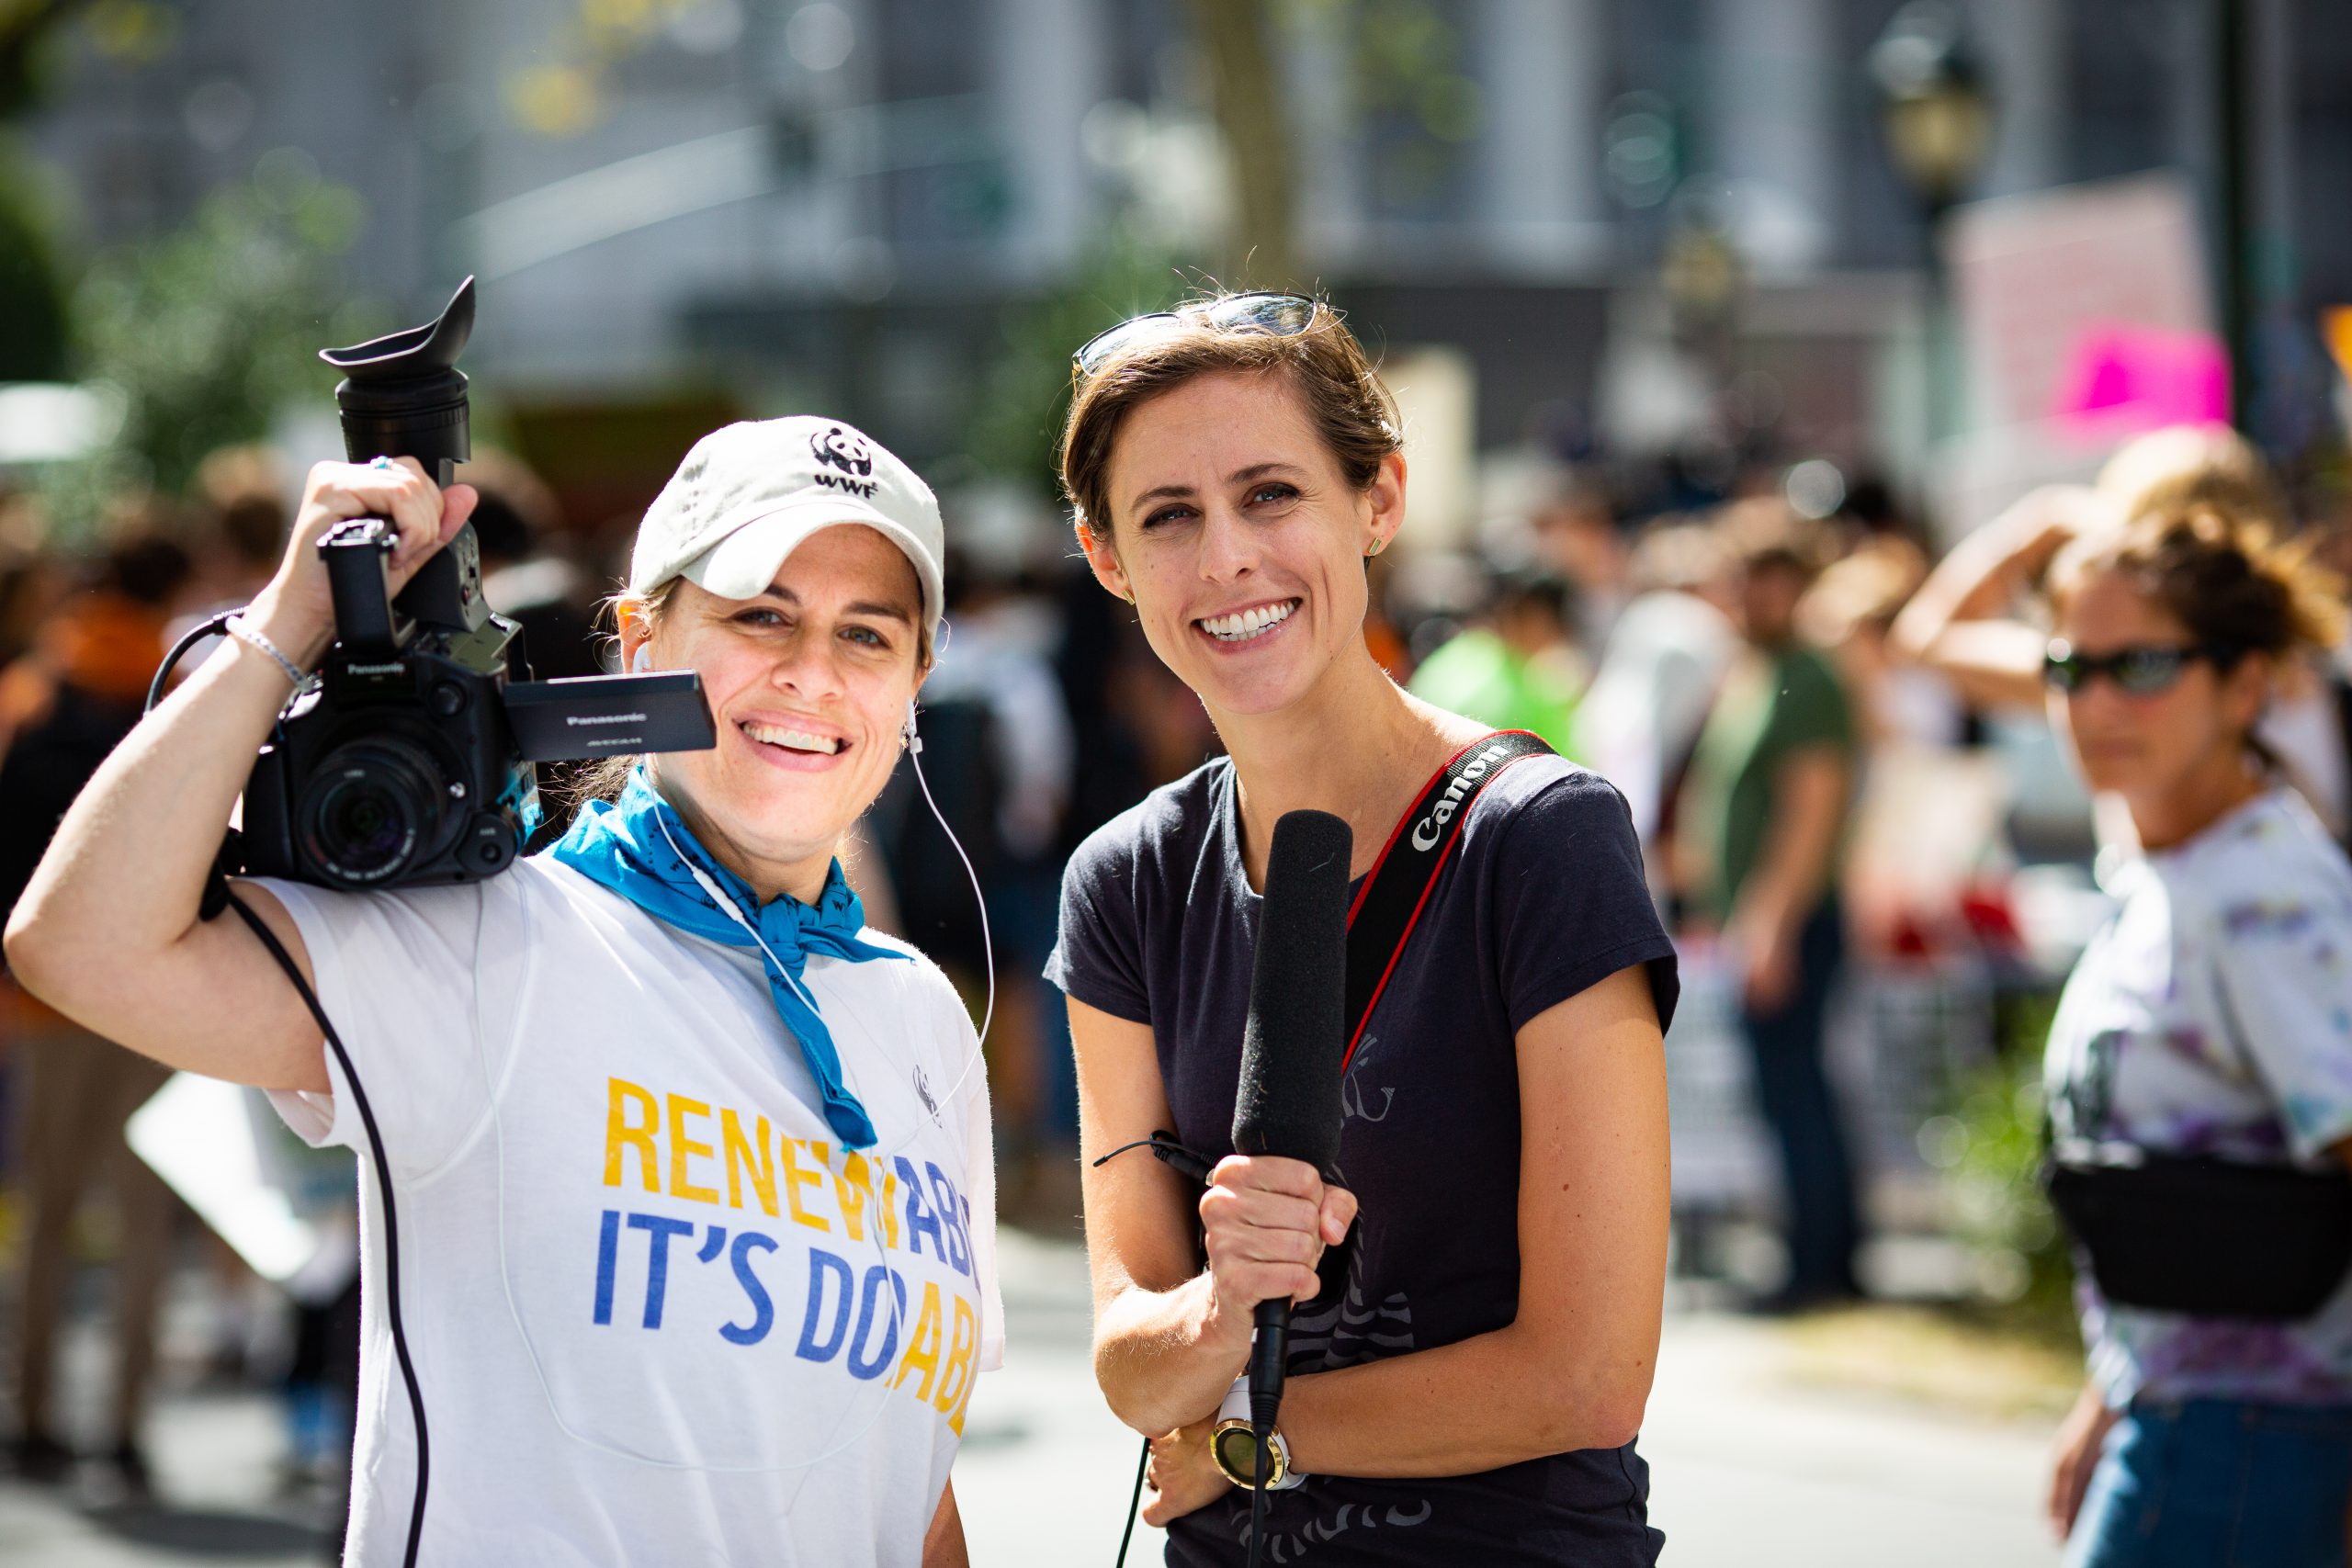
WWF video specialists, Kelley Ashford and Irene Magafan, have both had the fortune to travel with Natural Habitat Adventures–Kelley to Borneo and Irene to Alaska, and recently shared their travel videography expertise on a Travel Videography 101 Nat Hab Daily Dose Webinar. If you missed this special webinar, catch their top tips below.
As video professionals, we are constantly thinking about the most compelling or unusual shot, the coolest sound to capture, and how to tell a story when we travel, so we are always happy to share our favorite tips and tricks. For these tips, we focus on storytelling for conservation as well as packing minimal gear for your travels. If you’re looking for tips on gear and technique, be sure to watch our Nat Hab Travel Videography 101 webinar and catch Court Whelan’s tips.
Here are some of our favorite things to keep in mind when capturing video to tell your travel stories.
Preparing to Shoot Travel Video
- Familiarize yourself with the location beforehand.
- Create your own desired shot list.
- Keep a small travel notebook/notepad with you and make note of what you see along the way.
- Create a gear checklist and take that with you on your trip and check it once you return to make sure everything is accounted for and make note of what you did/didn’t need.
- Plan out your gear ahead of time, consolidate and pack light!
Videography for a Story
- Have a mission statement in mind if you’re going to a location for a specific story and look for images and action that supports your mission, all while challenging your creative eye.
- Create a day-by-day timeline – think about where you want to capture video and map it out across your trip.
- Let the story unfold for you and don’t be too committed to a script. The excitement of documentary is the raw material you had no idea you’d get.
- Pay attention to what is inspiring you on your trip. Look for emotion.
These tips were especially important for us as we were working on a documentary for WWF, “The Heat is On,” (20 min) focused tackling global climate policy and inspiring action.
Or catch the trailer:
Shoot to Edit
- Practice discipline with your shooting and don’t overshoot. It’s good to have a variety of shots for one particular subject but you don’t want to overdo it.
- It’s important to hold your shots and count. This will help later on when you’re editing. You want to have enough to work with. It’s recommended to count no more than 20 seconds on each shot. But if you don’t record long enough that may make the shot tricky to edit.
- Look for unusual, inspiring and interesting shots to use as cutaways; imagery that you want to compliment and support the video you’re making.
- Explore a good hand/foot shot.
- Play with angles.
- There’s so much you can do with hand–held camera work and it gives you a lot of creative freedom. There are times when a tripod is critical to have but other times hand–held may be the more desired technique. Play with both.
Importance of Audio
- Always capture natural sound. This is the sound that’s around you at all times. Simply make sure the microphone on your camera is recording audio and let it go! Natural sound recorded is a great way to add depth and richness to your video… and a great reminder of the sounds you experienced while travelling!
- Try to set your camera down, hit record, and step away for 30 seconds to capture a full soundscape.
Choosing a Protagonist
- Widen your eyes, be present and explore your surroundings.
- Ask yourself, what’s speaking to you?
- Find a character/subject (s)
- An example of a central character can be a specific place, a mountain, species and even a particular climate or terrain.
Post–Shoot Organizing
- Equip yourself with robust and reliable storage/hard drives for your trip.
- Back up your footage at the end of each day.
- Create a folder labeling system for your video/audio files starting with the date and location for each day.
- Include other metadata; for example, if you’re using a few different cameras and shooting different frame rates, make note of that and keep those files organized and labeled accordingly. The more details you can include when labeling and organizing your files, the better.
Video Editing Platforms
- iMovie is a great free program, if you have a Mac. It’s easy to use and pretty straight forward. A good place to get started, if you’re unfamiliar with video editing.
- There are a lot of free tutorials on YouTube to help you understand editing.
- Other advanced video editing software platforms include: Adobe Premiere Pro, Final Cut Pro, Avid Media Composer
- There are several video editing apps now available on smartphones to edit on the go, including Adobe Premiere Rush.
Video Exporting
- Know what you are exporting for. Are you putting your travel video on your website, your Vimeo/YouTube channel? This will help you know what export settings to use.
- Become familiar with the different export settings available, depending on the editing software you’re using.
- When in doubt, H.264 is the universal codec and has the friendly and widely used .mp4 file extension.
- Different social media platforms such as Facebook, Instagram and Twitter have their own preferred export. Familiarize yourself with the horizontal vs vertical vs square settings.
As much fun as playing around with videography and photography is, our final tip is – don’t forget to step away from the camera on occasion and be present in the moment! We both love our jobs and often get wrapped up in the work, but we both agree that some of our favorite moments include putting our gear down and taking a thoughtful moment to recognize and honor the true beauty of our natural world.
Even if you cannot travel far from home, we encourage you to take your camera and step out into your own neighborhood. You never know what kind of natural wonders are just outside your door.
Be sure to check out these other videos created by Kelley and Irene:
50 Seconds of Nature to Honor 50 Years for the Earth (created by Kelley Ashford)
The Women of Nepal (an original short created by Irene)


