It’s hard to believe that Elisabeth Kruger, an Arctic and Bering Sea program officer for WWF, once had a career in theater, specifically lighting design. Her interest in lighting attracted her to photography and, while living in Russia for four years, she bought her first “real” camera and starting taking photography classes. Today she works on Arctic marine mammal conservation projects from a WWF field office in Anchorage, Alaska. Since we figured she’d know a thing or two about taking photos in frigid conditions, we asked her to share some advice ahead of the Classic Polar Bear Photo Adventure she will escort November 10-16, 2014.
Here are Kruger’s 10 tips for taking photos in cold-climate conditions:
1. Protection from the elements. Most new cameras provide some weather resistance, but camera “raincoats” can give additional protection from rain and snow. Kruger also suggests using a lens hood. “It will help keep snow off the glass of your lens, reducing the chances of having snow splotches in your photos,” she explained.
A basic UV filter is also recommended. “It won’t break the bank, and if there’s a wind storm and a bit of rock flies at your lens, it will just break the filter and it won’t hurt your lens.”
Most importantly, Kruger takes caution when changing lenses, which is when they are most vulnerable to dust and moisture. “I always try to change lenses inside and away from the elements, and I always try to make sure I do it as quickly as possible,” she says.
2. Power up. Cold conditions zap juice from camera batteries, so it’s a good idea to have more than you think you’ll need. Kruger suggests wearing a coat with inside pockets where you can store your batteries, keeping them warm.
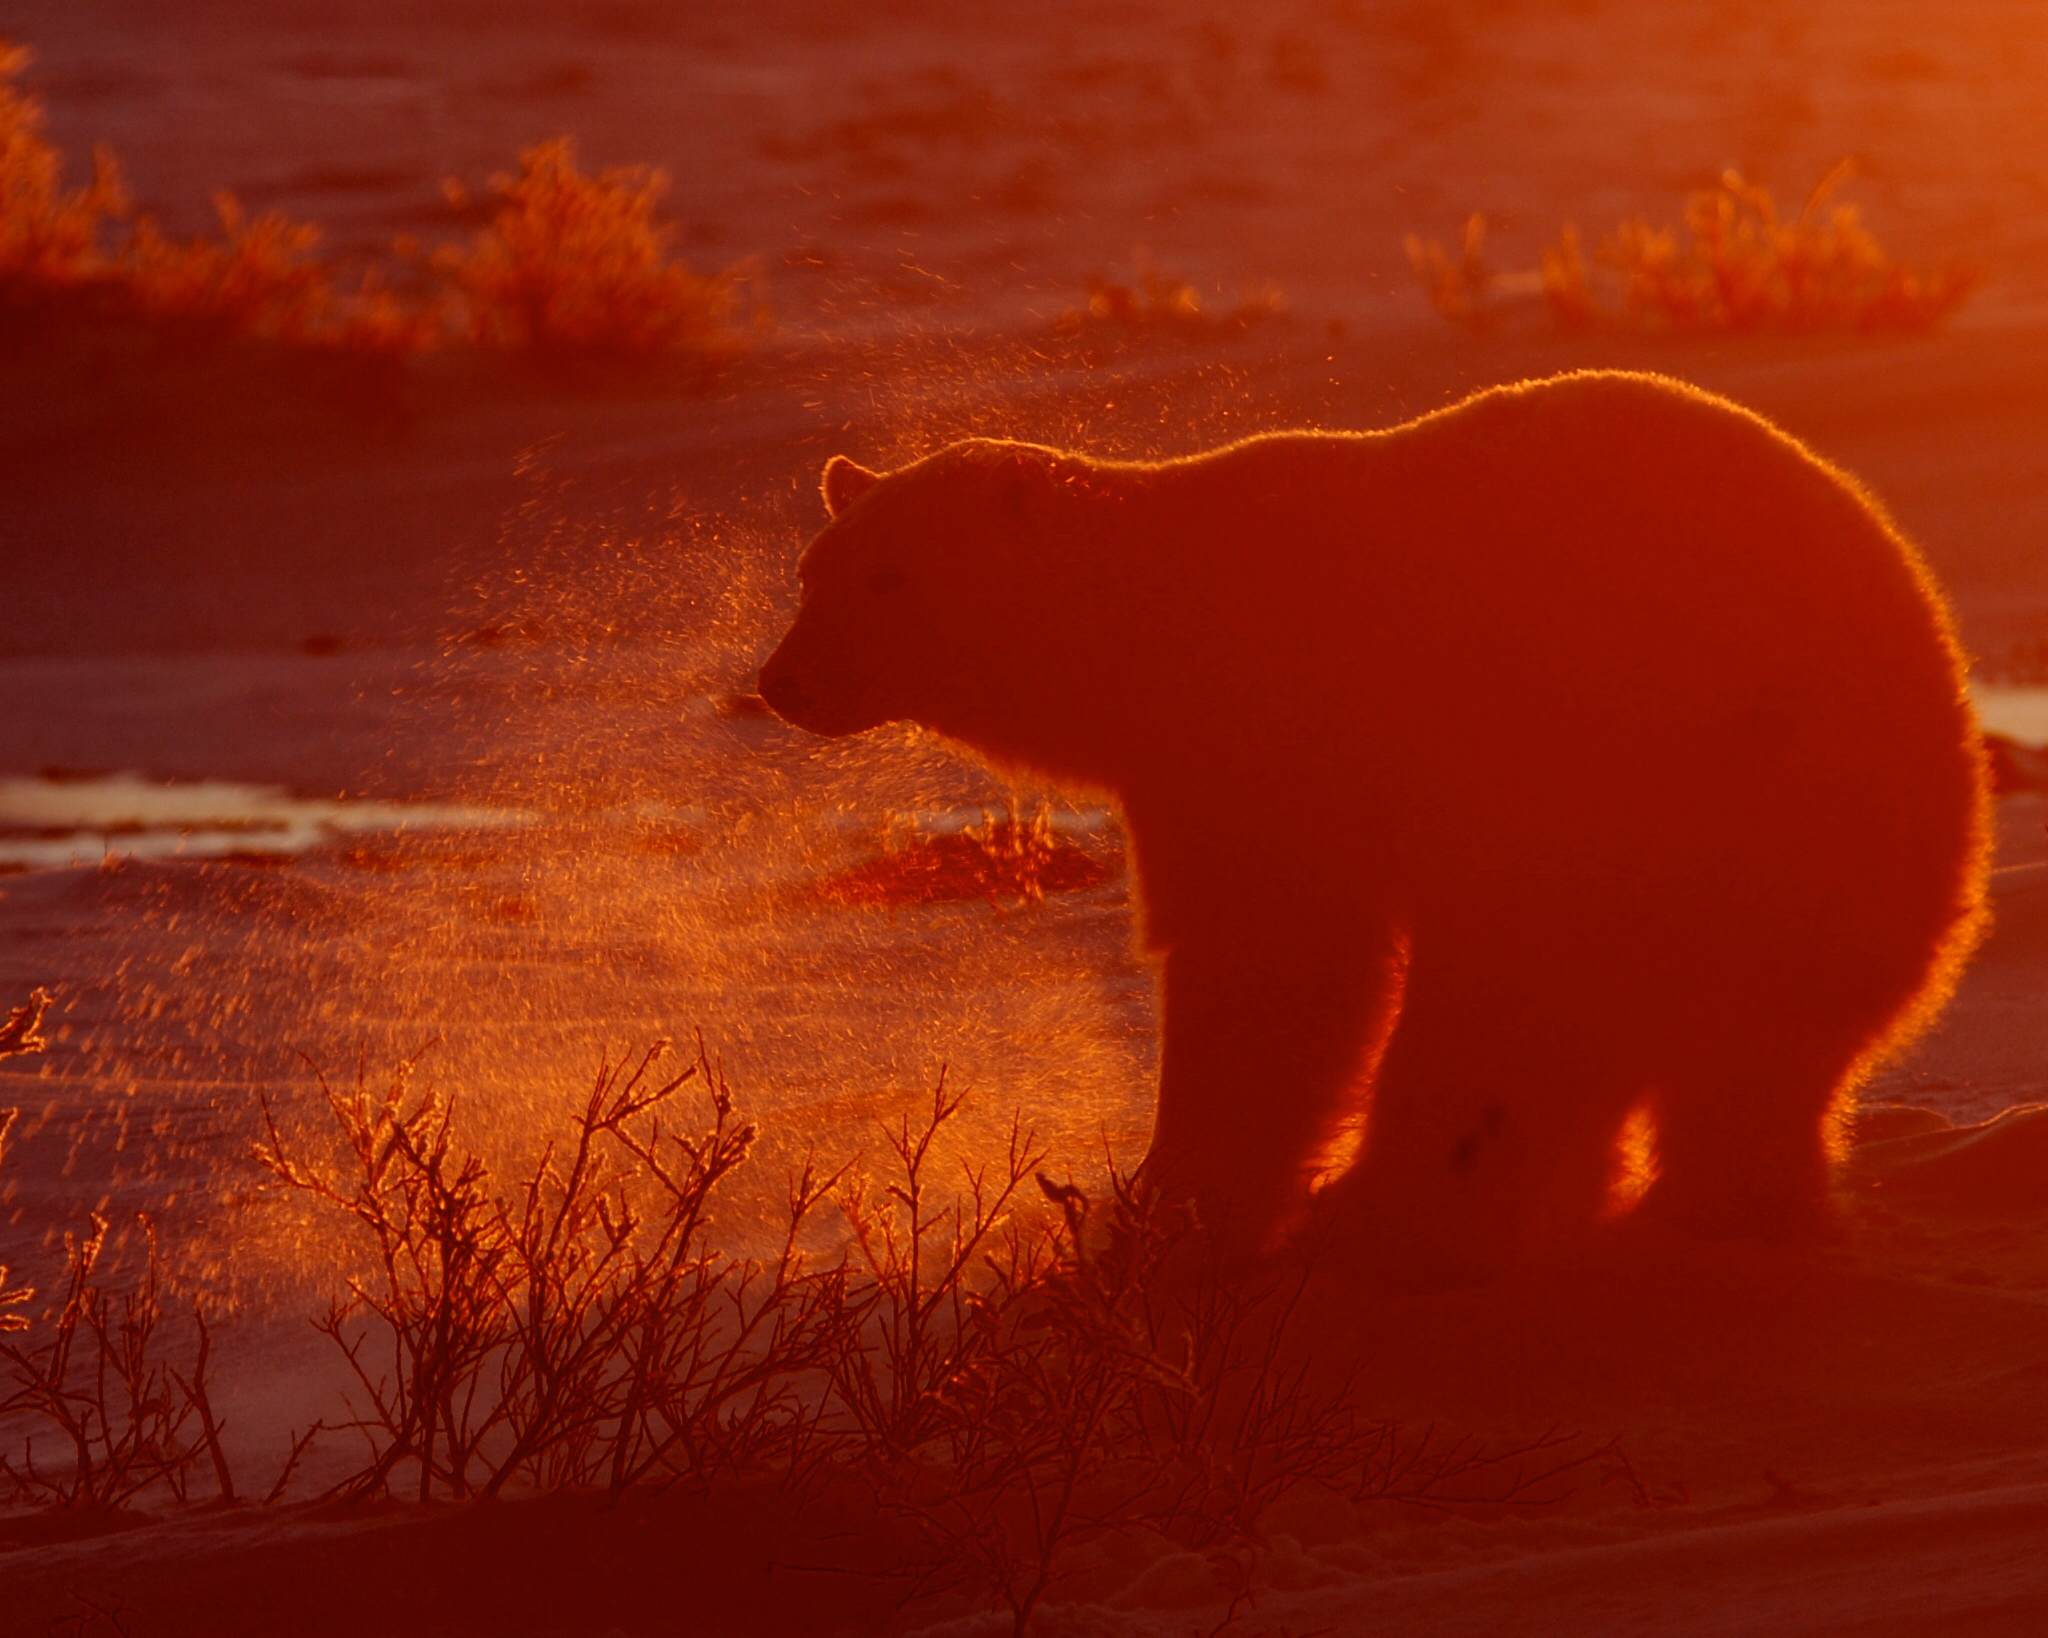
3. The “magic hour.” Photographers consider the time around sunrise and sunset to be magic for its perfect lighting conditions, as the above photo by Natural Habitat Adventures naturalist and photographer Eric Rock shows.“It’s that time when everything turns kind of golden,” Kruger noted. Fortunately, Arctic sunrises and sunsets take much longer at certain times of the year, lengthening those ideal conditions.
4. It’s about time. According to Kruger, getting a good wildlife shot is all about timing and patience. You need good lighting, an interesting background and intriguing animal behavior. “You want to be all set up and ready to go, and then you just wait for that perfect moment,” she says. Photographer Mike Bruscia captured that in the image below.
5. In a fog. Lenses can fog up when taking them out of the warm indoors and into the cold, so Kruger makes sure to acclimatize her camera to the conditions. By keeping her camera in a padded bag, the temperature transition is slowed, helping to prevent the fogging effect.
6. Guiding light. “You want to look for light that’s not pointing straight at the subject,” Kruger says. Instead, sunlight coming from the side, ideally at about a 45-degree angle, helps emphasize the three-dimensionality of an animal by creating small shadows. While the sun acts as the main “key” light, light reflecting off of snow or water can act as “fill” light, softening dark shadows.
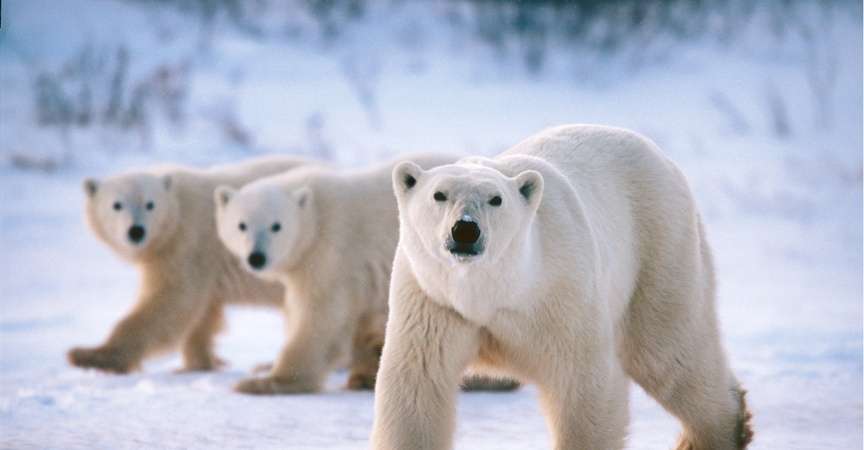
But there’s more than one recipe for using light. Kruger notes, “If the light is coming from behind the animal and you get that backlit outline, maybe against the sunset, that can be an interesting effect.” Andrew Corbett captured that perfectly in the shot below; naturalist Melissa Scott was also able to catch a backlit outlight, albeit during different lighting conditions.
7. It’s all in the lens. “If I had to choose between having a nice camera and a nice lens, I would definitely go with the lens,” Kruger says. When traveling, she limits herself to three lenses: a wide angle, a 50 millimeter and a telephoto. The wide angle is great for showing proximity, for example if a curious bear comes up to explore the polar buggy. The 50 millimeter is small, light, inexpensive and versatile, and the telephoto is great for shooting wildlife that’s farther away.
8. Going steady. For cold weather conditions, Kruger recommends a carbon fiber tripod or one with foam covering its legs. Tripods made of metal can get extremely cold.
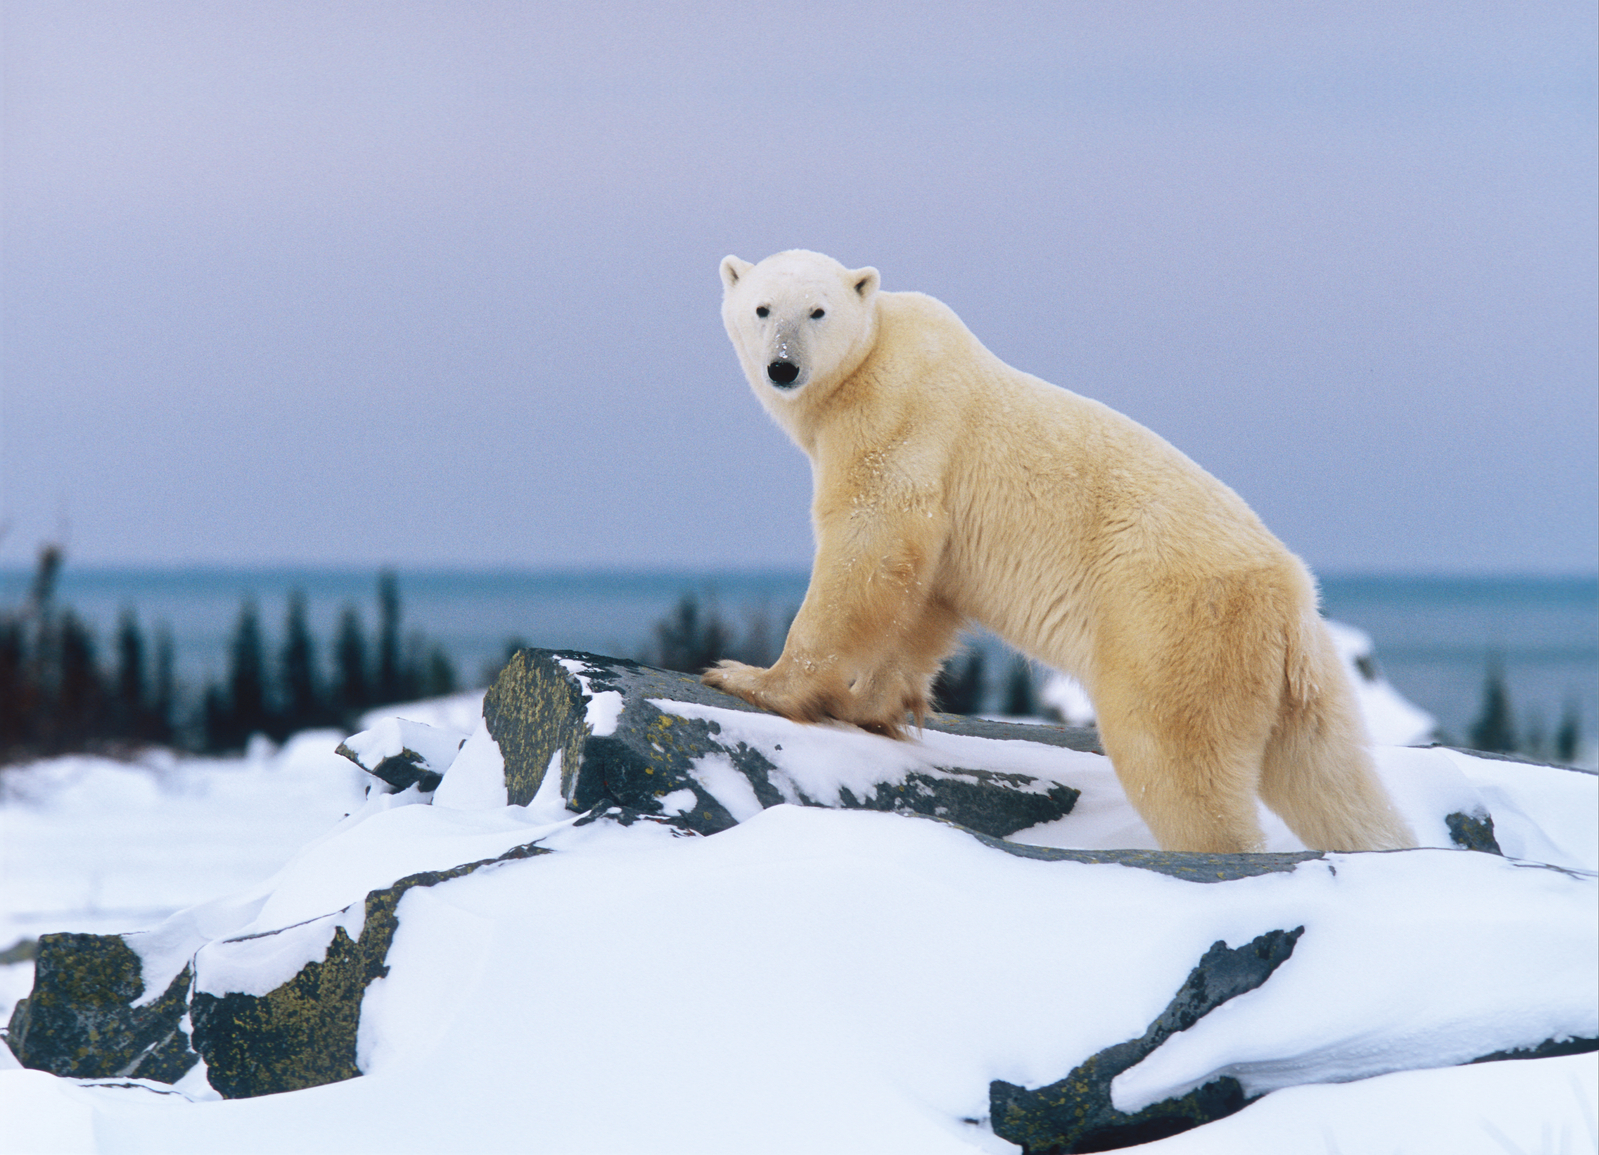
9. White on white. Taking a photo of a white polar bear against a white, snowy background can be tricky. “That’s where light comes in,” Kruger says. Having the animal backlit is particularly effective. Kruger also suggests waiting until the bear is not in front of a purely white background but instead against the sky or another backdrop that provides more contrast. Waiting for a polar bear to climb a small rock precipice allowed photographer Patrick J. Endres to capture the bear below against a blue backdrop, not white.
10. Traveling (sort of) light. Though Kruger would love to bring 10 lenses on every trip, she limits herself to three for ease of travel. Instead of a camera bag, she uses a regular backpack and puts her camera and lenses in neoprene cases. That way, she can put her equipment exactly where she wants it. If she has to check her camera equipment on the plane, Kruger uses a hard, weatherproof case for protection.
By Marsea Nelson, WWF guest blogger













Excellent tips and beautiful photos.
Great pictures and good tips.
Very informative and beautiful pictures!!!!!!!!!!!
Beautiful.
Protect our polar bears & all fauna big & small.
Loved all of it. Thank you! E. M. Kennedy
Thanks for sharing these pictures!! They are really amazing!!